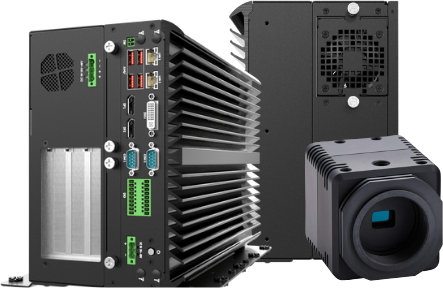
This guide provides detailed instructions on how to create a new project and add images in Flexible Vision.
1. Account Creation (For New Users)
- Navigate to the Flexible Vision Home Page: Open your web browser and go to the Flexible Vision website.
- Locate the Login Button: Find and click the “Login” button, typically located in the upper right corner.
- Select the Signup Option: Choose the “Signup” or “Create Account” option.
- Complete the Signup Form: Fill in the required fields with your login credentials and company information.
2. Logging In (For Existing Users)
- Go to the Flexible Vision Home Page: Open your web browser and go to the Flexible Vision website.
- Locate the Login Button: Find and click the “Login” button, usually in the upper right corner.
- Enter Your Credentials: Input your username and password.
- Launch the Application: Click the “Launch” or “Login” button to access your Flexible Vision app dashboard.
3. Creating a New Project
- Find the New Project Icon: On the dashboard, locate and click the plus icon (+) or “New Project” button.
- Name Your Project: Enter a descriptive name for your project in the provided field.
- Confirm Project Creation: Click the “Add,” “Create,” or “Save” button to finalize project creation.
4. Locating Your Project Card
- Project Card Display: Your newly created project card will appear on the dashboard.
- Project Progress Indicator: A grey circle or similar indicator at the bottom right of the project card shows the project’s current status.
5. Accessing Image Addition
- Open Project for Image Upload: Click on the project card, specifically the grey circle or progress indicator, to open the project and access image upload options.
6. Adding Images Using a USB Webcam
- Select Project and Camera: Choose your project and the connected USB webcam from the dropdown menus.
- Position the Object: Place the object you want to capture within the camera’s field of view.
- Capture the Image: Click the “Snap,” “Capture,” or similar button to take a picture.
- Capture Multiple Angles: Repeat the process, capturing images from various angles and under different lighting conditions (aim for 5-10 images to start).
7. Adding Images from Your File Directory
- Locate the Upload Button: Click the “Upload” or “Add Images” button.
- Select Images: Drag and drop image files into the designated area, or use the file browser to select images from your computer.
- Upload Confirmation: Wait for the images to upload and appear in your project.
- Combine Upload Methods: You can add images using both the webcam and file directory methods within the same project.
This guide covers the initial steps of creating a project and adding images. Subsequent steps for building an AI vision model involve tagging and training. Refer to additional documentation for those processes.


